Do you like how walls covered with Venetian Plaster look and want to give your own interior that stylish finishing? The process of applying Venetian Plaster is rather straightforward, so I decided to focus on the next stage, namely burnishing Venetian plaster, for you to understand how to get that smooth and polished surface.
The whole procedure boils down to 4 steps, so read attentively, and good luck with your experiments.
STEP 1
For burnishing a surface, you need to use sandpaper (400 or 600-grit). Circularly move the sandpaper until you get the desired look. If you have to rub large surfaces, it makes sense to use a power sander.
Tip: Pressing heavier, you can burnish the surface quicker.
STEP 2
Use a slightly wet cloth to wipe the surface and get rid of plaster dust.
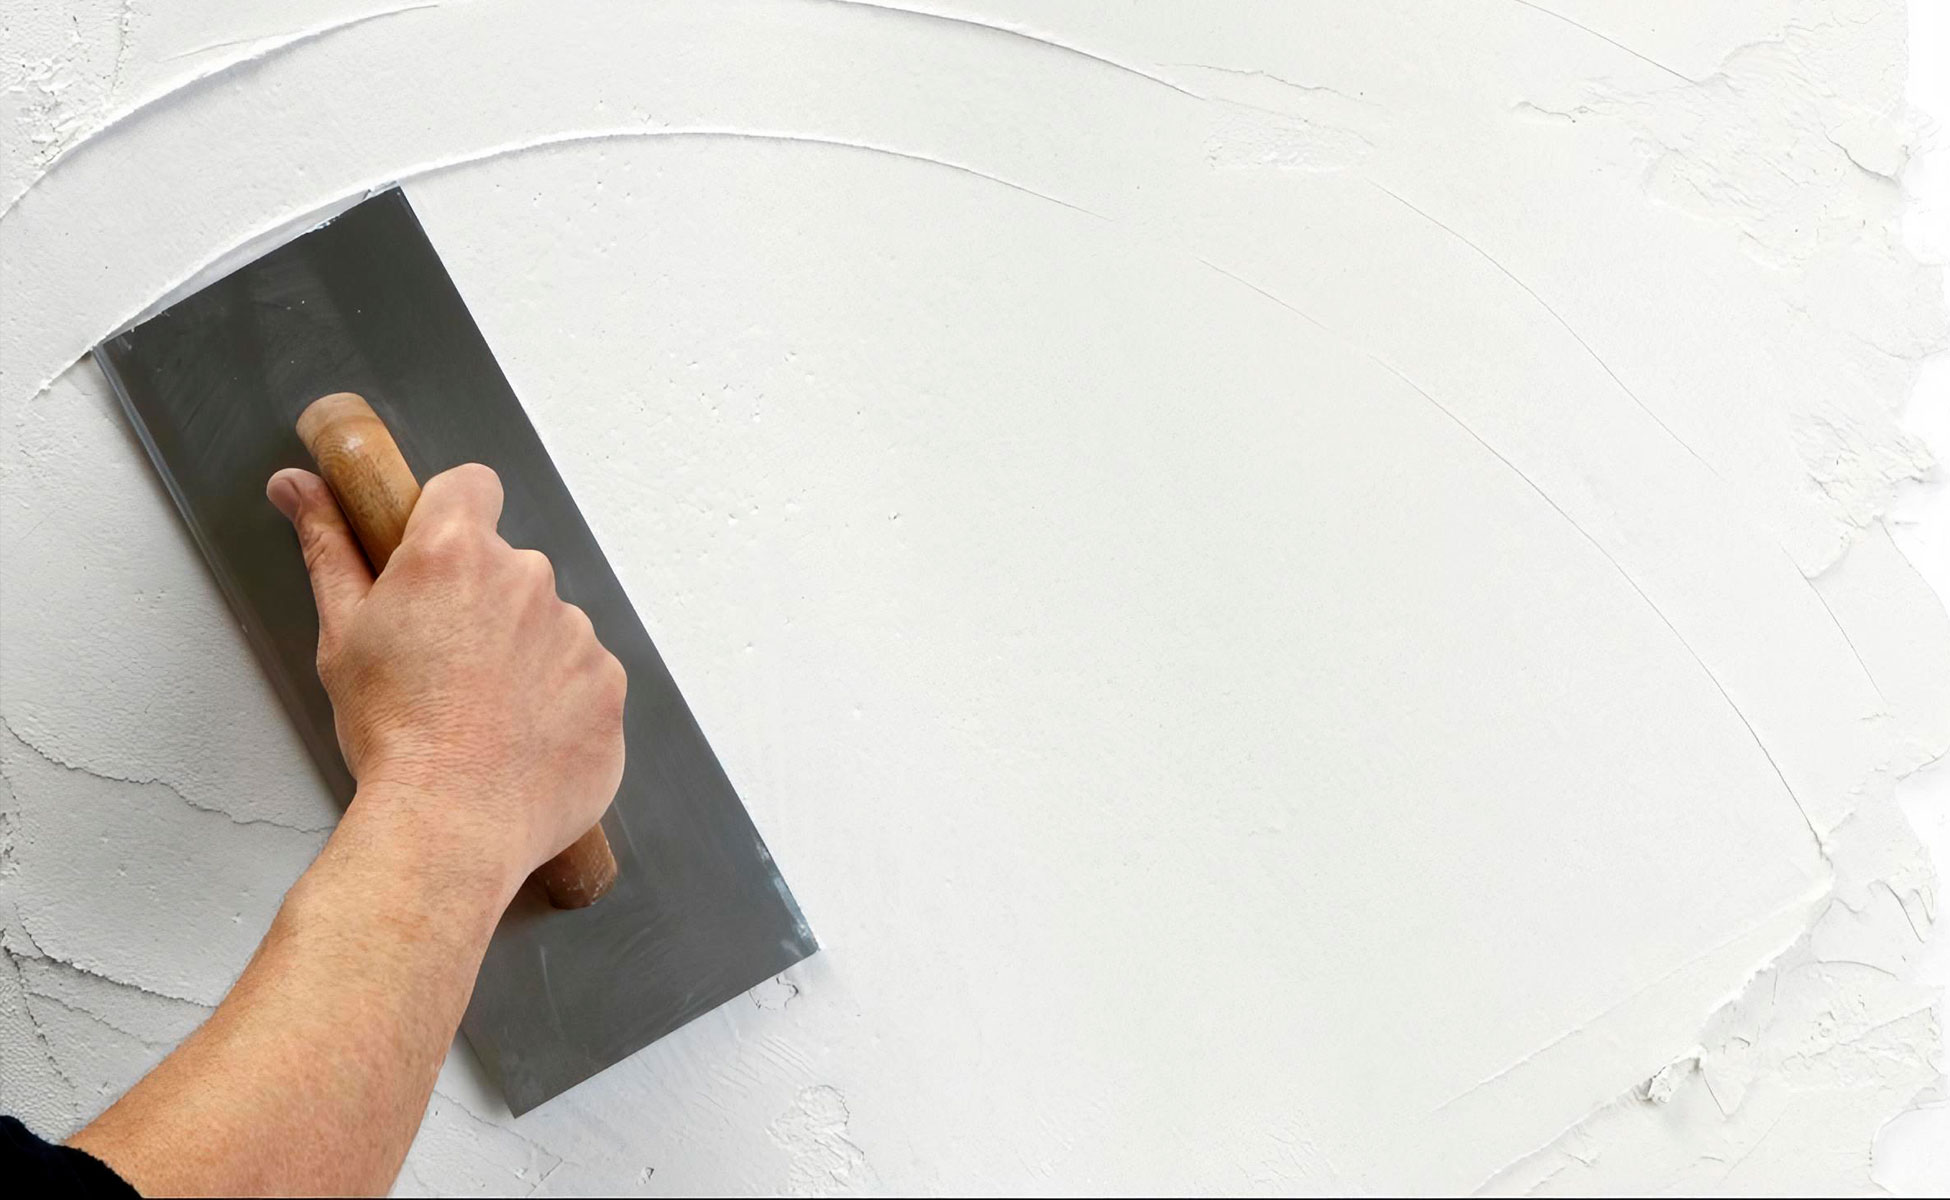
STEP 3
When the sanding stage is over, use a flat side of a clean steel trowel to rub the surface for a more pronounced polished look.
STEP 4
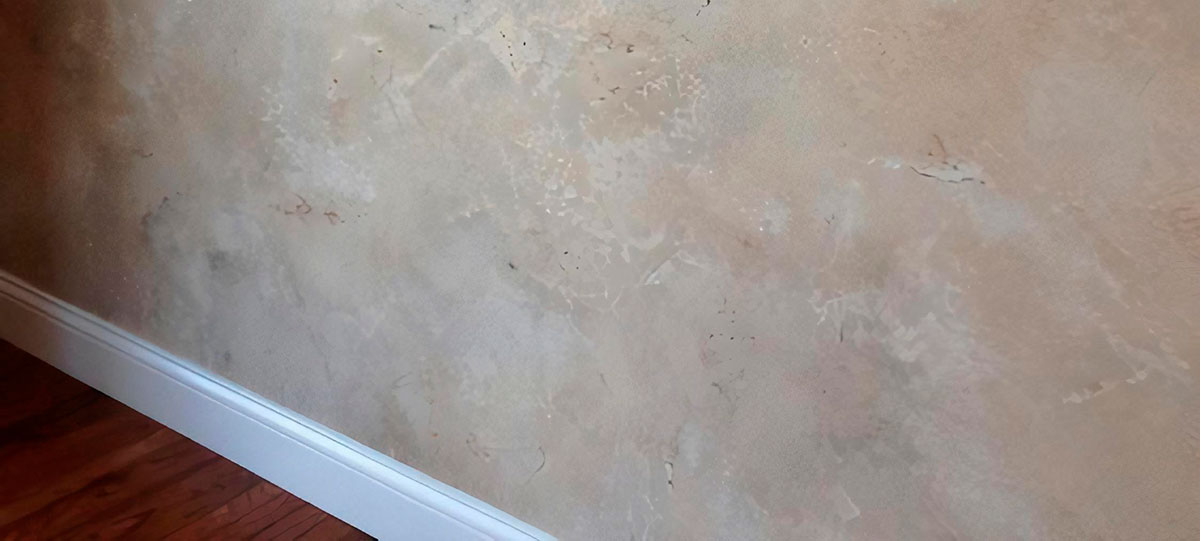
Keep working till you get the desired burnishing.
Now you know how to burnish Venetian plaster in a traditional way. Many companies nowadays create special kits for this job advertised as a more time-efficient method of coping with the task. If you decide on getting any of these kits, you will find detailed instructions on using them on a pack.